Build a Complete CRM in 2 Hours: Rails 8 Rapid Prototyping (Part 1)

TL;DR
Introduction
In business, the gap between idea and implementation often determines success. As I discussed in my article on why Rails remains the ultimate framework for rapid prototyping in 2025, the ability to quickly transform concepts into working software remains invaluable for startups and established businesses alike.
Rather than just making claims, I've decided to show you exactly what's possible. My challenge: build a complete MVP for a company management system—essentially a minimal CRM—in just 2 hours.
Why this matters for your business: When stakeholders can interact with a functional prototype that looks professional, even with minimal effort, buy-in happens faster. This is where Rails 8's built-in tools and conventions1 deliver real business value—letting us focus on solving problems rather than wrestling with configuration and boilerplate code.
In this series, we'll build a complete company management system featuring:
- Secure user authentication
- Industry categorisation for companies
- Role-based user-company relationships
- A responsive Bootstrap interface
- A functional dashboard with key metrics
Let's set the timer and see what we can accomplish in our first session.
Planning our MVP
⏱️ Elapsed time: 0:00 — Time remaining: 120:00
Every successful project begins with clear planning. For our CRM MVP, we need:
- Companies: The core data we'll track
- Industries: For categorising our client companies
- Authentication: So users can manage their own private client lists
We'll build using the latest Ruby on Rails 8, with Git for version control. This foundation will allow us to validate our concept with real users while maintaining the flexibility to iterate quickly.
Setting up the foundation
⏱️ Elapsed time: 4:32 — Time remaining: 115:28
Let's start by creating our Rails project:
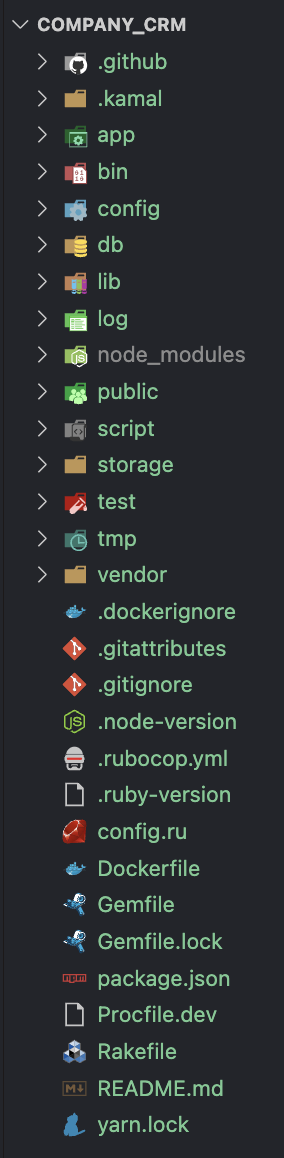
rails new company_crm --database=postgresql --css=bootstrap
This single command builds up our entire application skeleton with PostgreSQL database integration and Bootstrap styling. After waiting about 90 seconds for the setup to complete, we'll have a project structure like this:
One of the many advantages of Rails is that it configures Git automatically. The only remaining task is to set up our local database:
rails db:create
Now we can launch our application with bin/dev and visit http://localhost:3000:
Let's commit our initial framework:
git add .
git commit -m 'Initial commit :tada:'
Building core models
⏱️ Elapsed time: 6:33 — Time remaining: 113:27
Next, we'll create our fundamental data models. We need two key components:
- Industries: Categories for our companies
- Companies: The main entities in our CRM
For rapid prototyping, we'll start with a pre-defined list of common industries rather than building management features for them. This approach lets us focus on core functionality first and refine later.
rails generate model Industry name:string slug:string
This command creates our Industry model and database migration. To populate our industries, we'll create a seed file. First, let's set up our seeds structure:
# db/seeds.rb
puts "Running seeds..."

Dir[Rails.root.join('db', 'seeds', '*.rb')].sort.each do |file|
  puts "Loading seed file: #{file}"
  require file
end

puts "Seeds completed!"
This organisation allows us to maintain separate seed files for each resource type. Now let's create db/seeds/industries.rb:
['Education', 'Entertainment', 'Finance', 'Healthcare', 'Technology', 'Agriculture',
'Construction', 'Manufacturing', 'Telecommunication', 'Hospitality', 'Mass-media',
'Mining', 'Retail', 'Transportation', 'Aerospace', 'Energy', 'Law', 'Pharmaceutical',
'Food'].each do |industry|
  Industry.find_or_create_by!(name: industry, slug: industry.parameterize)
end
Let's run our migration and seed the database:
rails db:migrate
rails db:seed
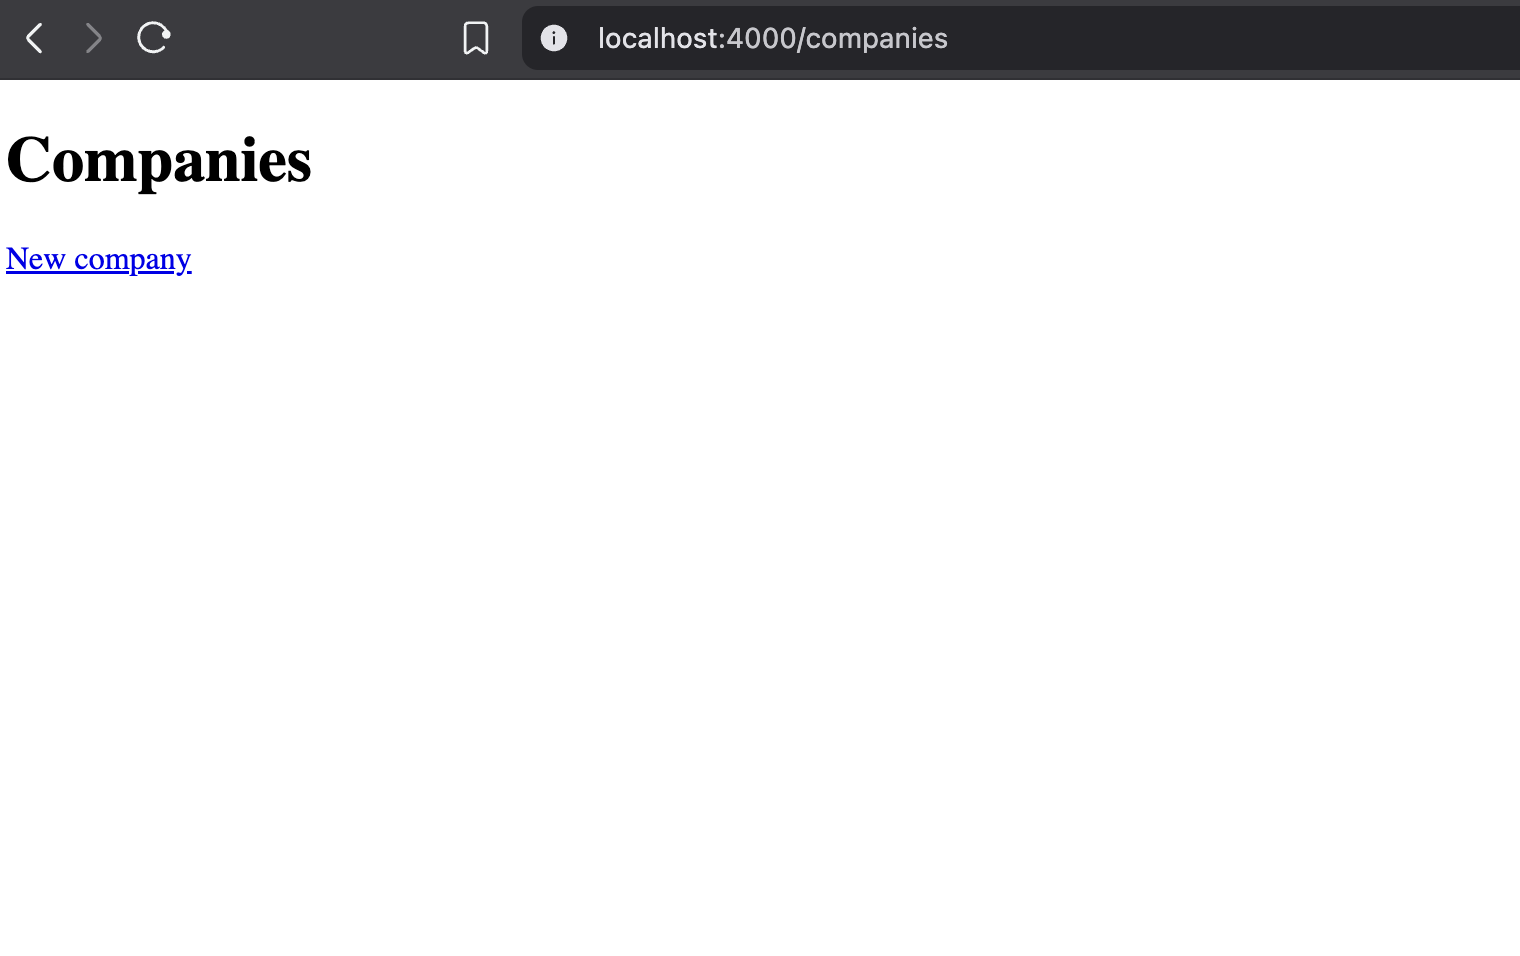
Now for the main event—our Company model. Since we need full CRUD (Create, Read, Update, Delete) functionality, we'll use Rails' scaffold generator2 to save significant development time:
rails generate scaffold Company name:string slug:string industry:references description:text last_contacted_at:datetime
rails db:migrate
With just these commands, we've created:
- A complete data model
- Database migrations
- A controller with all CRUD actions
- Views for listing, showing, creating, and editing companies
- API endpoints for all operations
- Tests for our new functionality
Visiting http://localhost:3000/companies shows our new company interface:
Let's enhance our Company model with automatic slug generation. The following method will only recreate the slug if the name changed. This will keep the slug in line with the company name.
# app/models/company.rb
class Company < ApplicationRecord
  # ...
  before_save :update_slug

  def update_slug
    self.slug = name.parameterize if name_changed?
  end
end
And establish the relationship from Industry to Company:
# app/models/industry.rb
class Industry
  has_many :companies
end
Now we'll update our form to remove manual slug input (since it's automatic) and add industry selection:
<!-- Remove this section from app/views/companies/_form.html.erb -->
<div>
  <%= form.label :slug, style: "display: block" %>
  <%= form.text_field :slug %>
</div>

<!-- Replace the industry field with this -->
<div>
  <%= form.label :industry_id, style: "display: block" %>
  <%= form.select :industry_id, Industry.pluck(:name, :id) %>
</div>
With these changes, we can now create companies with proper industry relationships and automatic slug generation.
Adding professional styling
⏱️ Elapsed time: 17:23 — Time remaining: 102:37
Our functionality is solid, but the interface needs polish. Let's leverage Bootstrap3 to create a professional look with minimal effort.
First, we'll add the Bootstrap CDN links to views/layouts/application.html.erb:
<link href="https://cdn.jsdelivr.net/npm/bootstrap@5.3.6/dist/css/bootstrap.min.css" rel="stylesheet" integrity="sha384-4Q6Gf2aSP4eDXB8Miphtr37CMZZQ5oXLH2yaXMJ2w8e2ZtHTl7GptT4jmndRuHDT" crossorigin="anonymous">
<script src="https://cdn.jsdelivr.net/npm/bootstrap@5.3.6/dist/js/bootstrap.bundle.min.js" integrity="sha384-j1CDi7MgGQ12Z7Qab0qlWQ/Qqz24Gc6BM0thvEMVjHnfYGF0rmFCozFSxQBxwHKO" crossorigin="anonymous"></script>
Then, there are some changes we need to make in the css build scripts. By default, it generates the scripts with bun for me, even though it's using yarn for everything else. In your package.json update the following lines:
{
  // ... other settings
  "scripts": {
    // ... other scripts
    "build:css": "yarn run build:css:compile && yarn run build:css:prefix",
    "watch:css": "nodemon --watch ./app/assets/stylesheets/ --ext scss --exec \"yarn run build:css\""
  }
}
This tells nodemon to run everything with yarn instead of bun. Next, let's transform our company index view into a clean, professional table:
<%# views/companies/index.html.erb %>
<p style="color: green"><%= notice %></p>
<% content_for :title, "Companies" %>
<div class='container'>
  <h1>Companies</h1>
  <table id="companies" class='table table-hover'>
    <thead>
      <th>Name</th>
      <th>Industry</th>
      <th>Last contacted at</th>
      <th></th>
    </thead>
    <tbody>
      <% @companies.each do |company| %>
        <%= render company %>
      <% end %>
    </tbody>
  </div>
  <%= link_to "New company", new_company_path, class: 'btn btn-outline-primary' %>
</div>
And update our company row partial:
<%# views/companies/_company_.html.erb %>
<tr id="<%= dom_id company %>">
  <td><%= company.name %></td>
  <td><%= company.industry.name %></td>
  <td><%= company.last_contacted_at %></td>
  <td>
    <%= link_to 'Show', company_path(company), class: 'px-2' %>
    <%= link_to "Edit", edit_company_path(company) %>
  </td>
</tr>
For our form elements, we'll add Bootstrap classes to enhance the visual experience:
- Add
form-labelclass to eachform.label - Add
form-controlclass to each input field
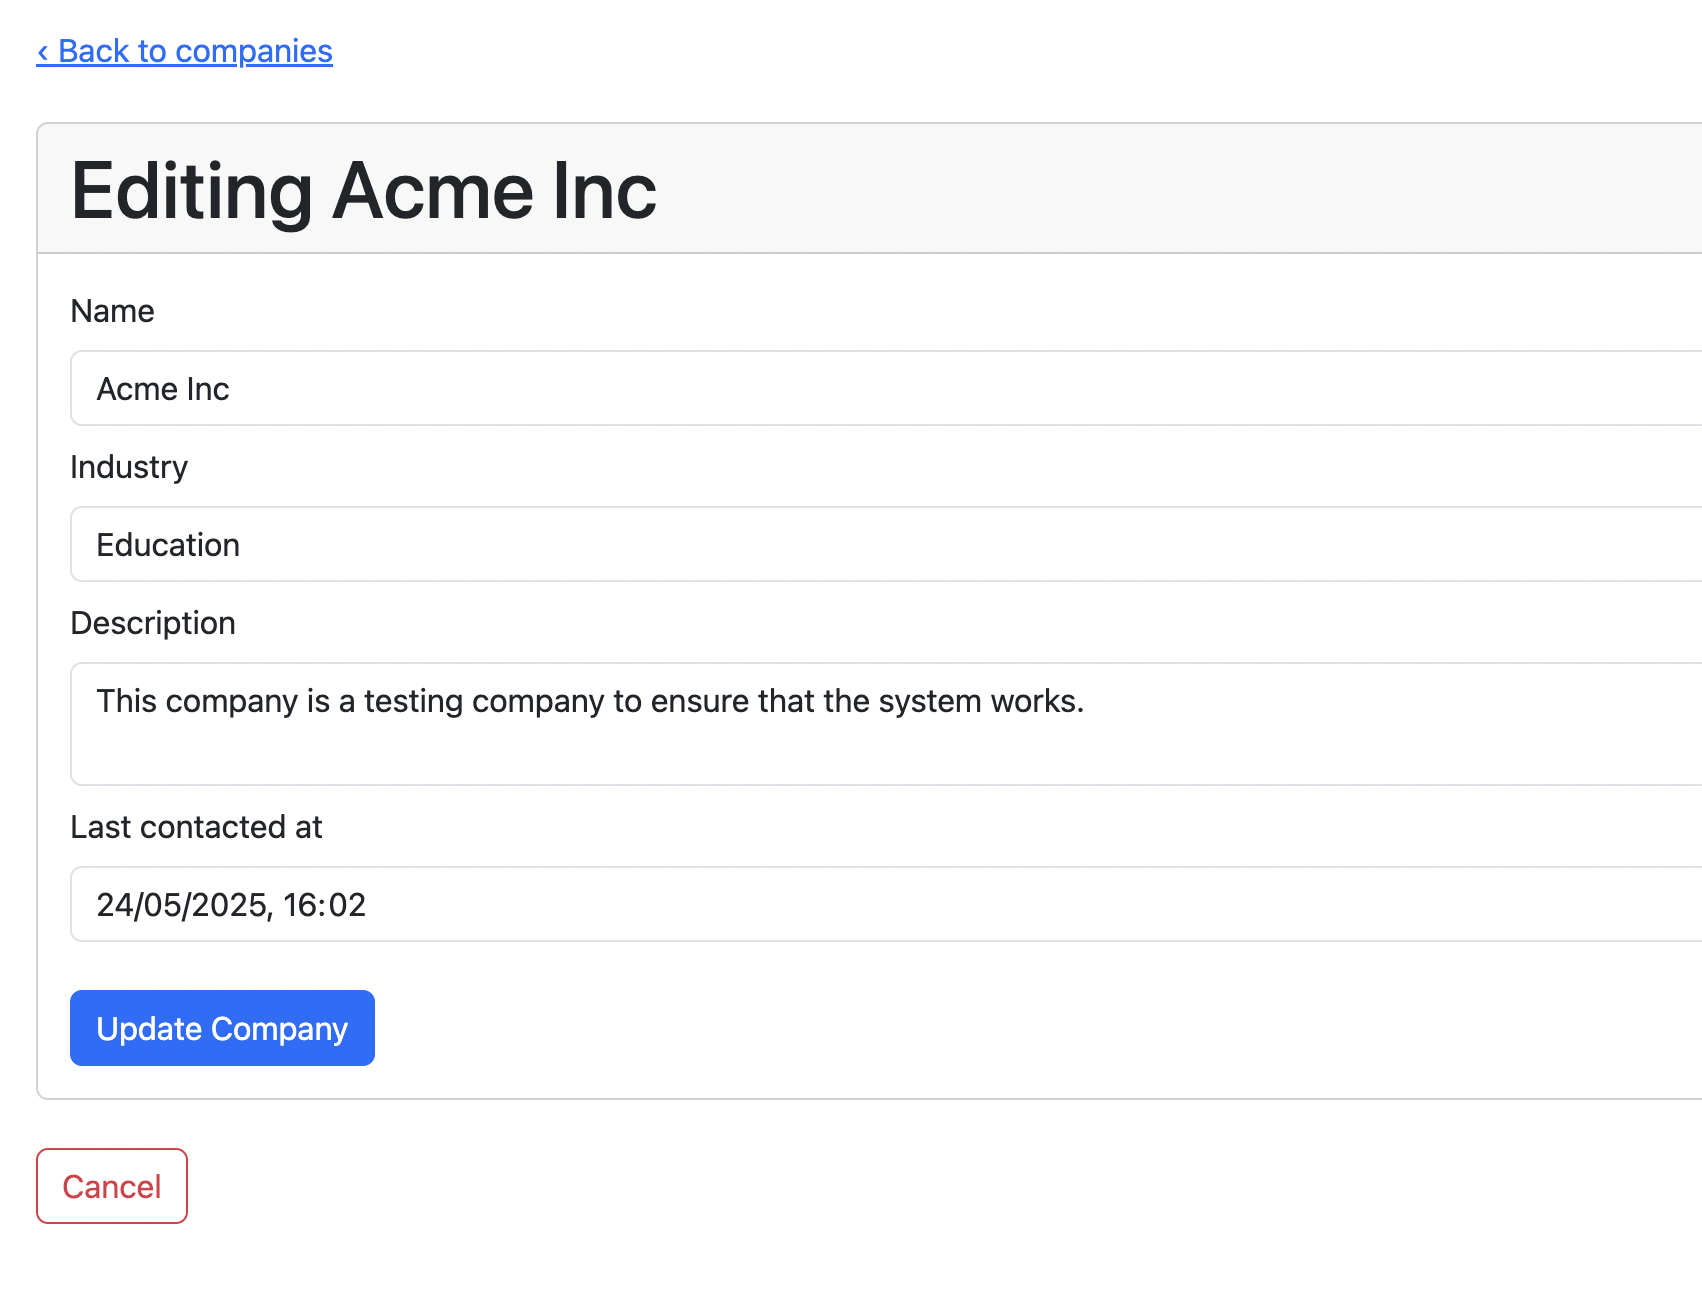
Here's the updated edit page with proper card styling:
<% content_for :title, "Editing company" %>
<%= link_to "‹ Back to companies", companies_path, class: '' %>
<div class='card my-4'>
  <h1 class='card-header'>Editing <%= @company.name %></h1>
  <%= render "form", company: @company %>
</div>
<div>
  <%= link_to "Cancel", @company, class: 'btn btn-outline-danger' %>
</div>
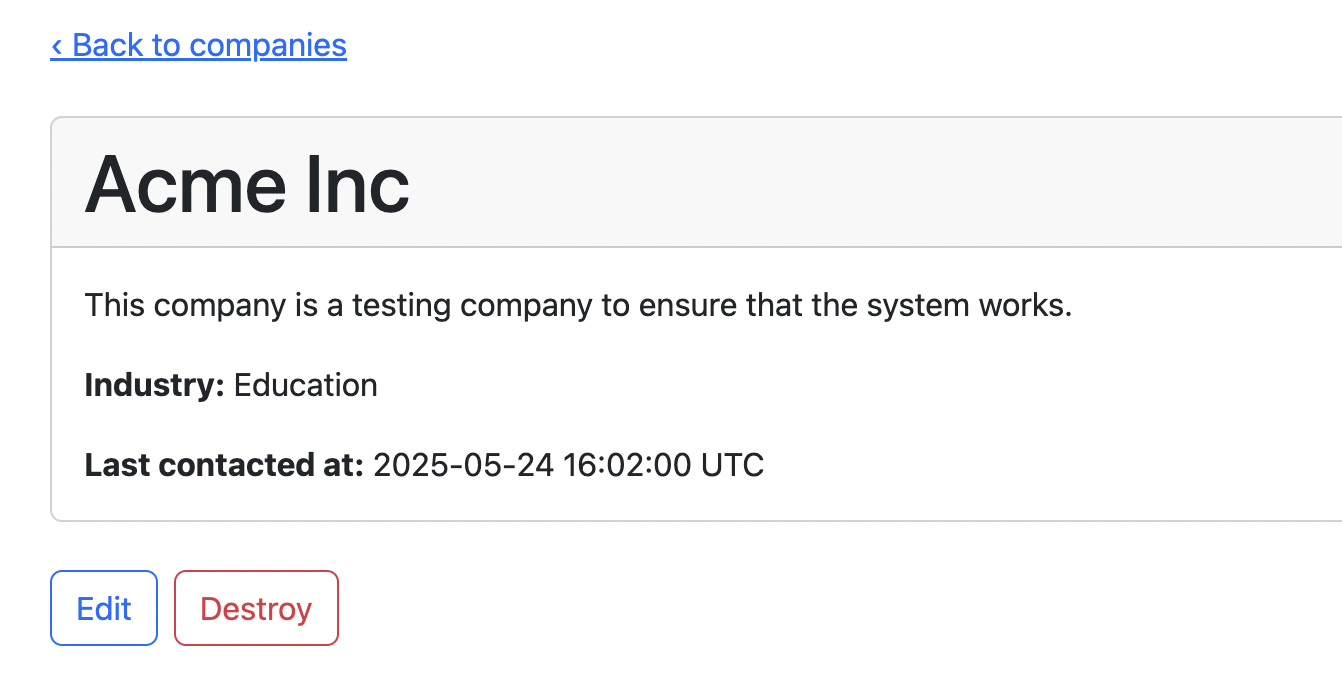
Finally, let's create a visually appealing company detail page:
<section id="<%= dom_id company %>" class='card my-4'>
  <h1 class='card-header'><%= company.name %></h1>
  <div class='card-body'>
    <p class='card-text'><%= company.description %></p>
    <p class='card-text'>
      <strong>Industry:</strong>
      <%= company.industry.name %>
    </p>
    <% if company.last_contacted_at.blank? %>
      <p class='card-text'>You haven't contacted <em><%= company.name %></em> yet.</p>
    <% else %>
      <p class='card-text'>
        <strong>Last contacted at:</strong>
        <%= company.last_contacted_at %>
      </p>
    <% end %>
  </div>
</section>
End of part one
⏱️ Elapsed time: 36:50 — Time remaining: 83:10
In just over 30 minutes, we've established a solid foundation for our CRM MVP. Here's what we've accomplished:
- Set up a complete Rails 8 application with PostgreSQL and Bootstrap
- Created and populated an Industry model for classification
- Built a full-featured Company model with industry relationships
- Implemented automatic slug generation for SEO-friendly URLs
- Created a professional-looking interface using Bootstrap styling
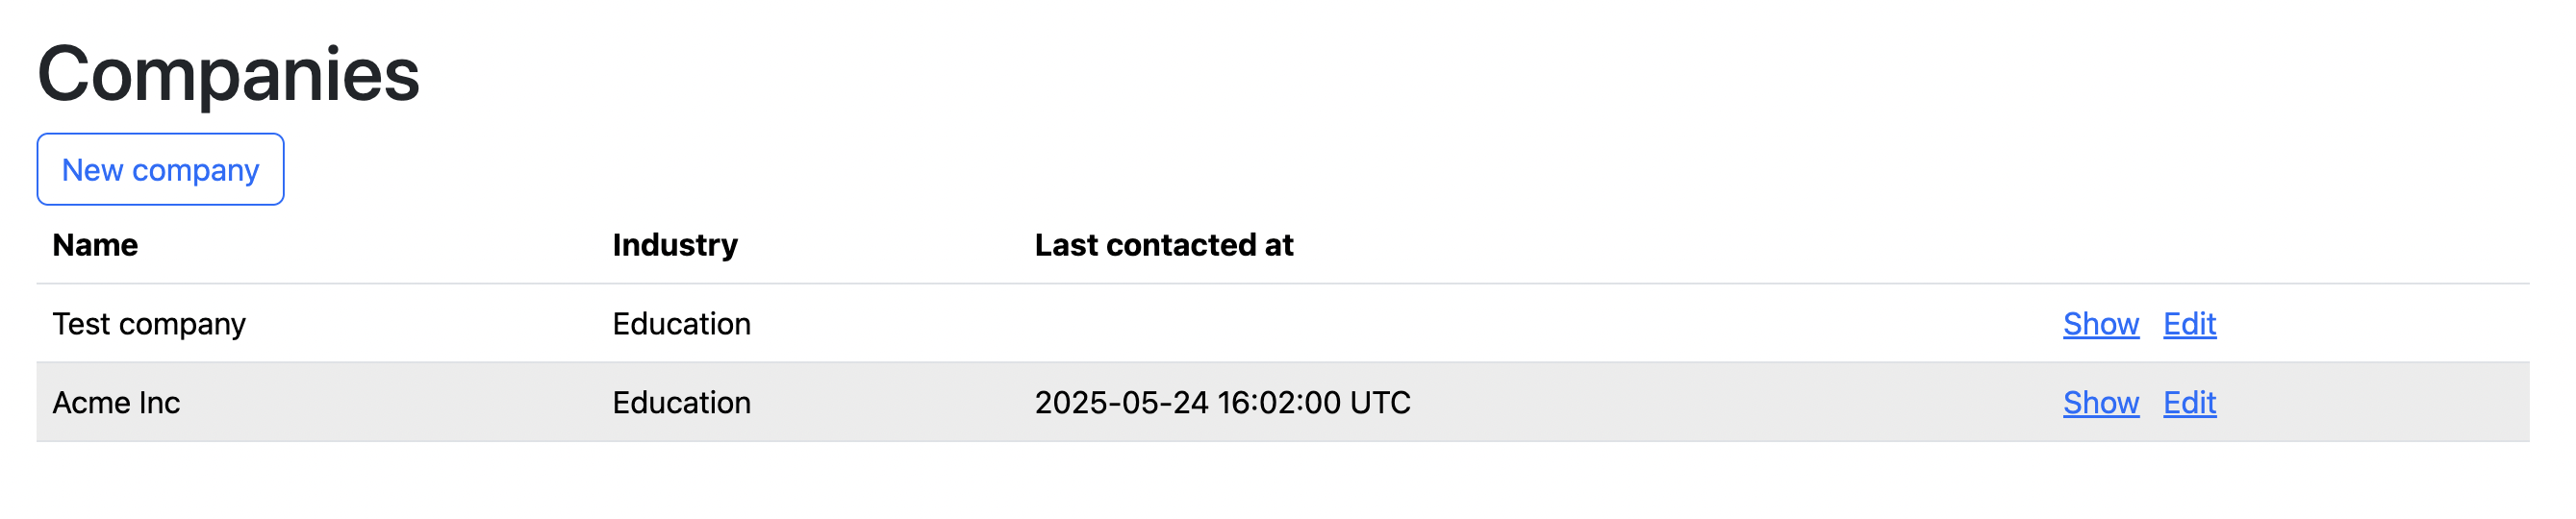
Here's our current application in action:
In Part 2, we'll add user authentication, link companies to specific users, and create a personalised dashboard. Depending on how much time there is left, this could complete our minimum viable product, demonstrating how Rails enables businesses to validate ideas with working software in record time. However, if there's more time, we might get to add some nice-to-haves; filtering and pagination.
If you're looking to rapidly validate your next business concept with a functional prototype, let's talk. Rapid prototyping might be exactly what your next project needs to gain traction and stakeholder buy-in.
Footnotes
-
Rails has extensive documentation with guides that can help you get started quickly. https://guides.rubyonrails.org/ ↩
-
The generators that are built into the Rails framework are really powerful when rapid prototyping. https://guides.rubyonrails.org/generators.html ↩
-
Bootstrap is a tried and true utility-based styling framework. https://getbootstrap.com/docs/5.3/getting-started/introduction/ ↩