Build a Complete CRM in 2 Hours: Rails 8 Rapid Prototyping (Part 2)

TL;DR
Introduction
Last week, we built a complete Rails 8 CRM foundation in just 36 minutes - database, models, basic CRUD operations, and styling. With 83 minutes left in our 2-hour challenge, we're now adding the authentication and user management that transforms a simple demo into something that feels production-ready. If you haven't read it yet, you should start there. Don't worry, I'll wait for you.
Just a quick reminder why this matters for your business: When stakeholders can interact with a functional prototype that looks professional, even with minimal effort, buy-in happens faster.
Alright, we better get on with it. Start the clock.
User Authentication
⏱️ Elapsed time: 36:50 — Time remaining: 83:10
Before we build the user authentication, let's make sure that the application always opens on our company index page. The main feature of our application is our company dashboard, so that should be where we go first. At the top our our config/routes.rb, let's add the following:
root "companies#index"
If we now navigate to localhost:3000, it will open on the companies index page. This is not strictly necessary, but I like it and it's my app 💁♂️
Alright, on to the authentication. For this, we use another built in generator of Rails; the Authentication generator. Let's open our terminal and enter the following command:
rails generate authentication
This generator creates many things. It creates the views required for logging in and resetting your password. It creates the session, user, and current models for dealing with logging in and logged in users and the corresponding database migrations. It creates a mailer for password reset emails. And lastly, another thing the authentication generator adds is a block on all controllers; if you're not logged it, you get no access to any controller, unless we explicitly allow it as developers. You can check it by trying to go to localhost:3000 again. You will see you get redirected to /sessions/new, the login page.
Don't forget to run rails db:migrate. Though if you do, your app will tell you to once you try to load it.
Creating a useful navbar
⏱️ Elapsed time: 37:27 — Time remaining: 82:33
The only things the authentication generator does not create, are a registration page and a navbar, so we will start there. First, let's create a partials folder in our views. In there, we add _navbar.html.erb. We will keep it simple. For now, just a button and maybe let's put a placeholder for our App logo. Do we need a logo for an MVP? Probably not. Does it make it look more polished? I would say so. I am going to call our Company CRM DataBae, because the data in our database is out bae.
<nav class='container pt-4 d-flex justify-content-between align-items-center'>
  <p class='fs-4 fw-semibold font-monospace text-uppercase m-0'>DataBae</p>
  <% if current_user.present? %>
    <%= button_to "Sign out", session_path, method: :delete, class: "btn btn-outline-primary" %>
  <% else %>
    <%= link_to "Sign in", new_session_path, class: "btn btn-outline-primary" %>
  <% end %>
</nav>
Note that I use current_user.present?. This is a helper method I added to the authentication.rb concern, which returns the Current.user. It is not necessary to add this, but I prefer variables/method calls in my views over class invocations.
# app/controllers/concerns/authentication.rb
module Authentication
  included do
    # ...
    helper_method :current_user
  end

  # ...
  private

  def current_user
    Current.user
  end

  # ...
end
To also use the partial, we should insert it into our views/layouts/application.html.erb. I put it right at the start of our <body>-tag. Once we land on our new login page, we see a very basic form. Let's give it some simple styling::
# app/views/sessions/new.html.erb

<div class='container-sm'>
  <section class='card max-width-card mx-auto'>
    <h1 class='card-header'>Log In</h1>
    <div class='card-body'>
      <%= form_with url: session_path do |form| %>
        <div>
          <%= form.label :email_address, class: 'form-label' %>
          <%= form.email_field :email_address, required: true, autofocus: true, autocomplete: "username", class: 'form-control', placeholder: "Enter your email address", value: params[:email_address] %><br>
        </div>
        <div>
          <%= form.label :password, class: 'form-label' %>
          <%= form.password_field :password, required: true, autocomplete: "current-password", class: 'form-control', placeholder: "Enter your password", maxlength: 72 %><br>
        </div>
        <%= form.submit "Sign in", class: 'btn btn-primary' %>
      <% end %>
      <%= link_to "Forgot password?", new_password_path, class: 'mt-4 d-inline-block' %>
    </div>
  </section>
</div>
Password recovery
⏱️ Elapsed time: 41:17 — Time remaining: 78:43
In order to test the password reset flow, we should install letter_opener, a gem to render the emails locally. That will make it much more straightforward to test the emails. And while we're at it, let's also install pry, a debugging tool.
# Gemfile

group :development do
  gem 'letter_opener'
  gem 'pry'
end
Now run bundle install in the terminal to install it and let's configure it for development:
# config/development.rb

config.action_mailer.delivery_method = :letter_opener
config.action_mailer.perform_deliveries = true
Now let's go to /passwords/new and give it some styling too:
<div class='container-sm'>
  <section class='card max-width-card mx-auto'>
    <h1 class='card-header'>Forgot your password?</h1>
    <div class='card-body'>
      <%= form_with url: passwords_path do |form| %>
        <%= form.label :email_address, class: 'form-label' %>
        <%= form.email_field :email_address, required: true, autofocus: true, autocomplete: "username", placeholder: "Enter your email address", value: params[:email_address], class: 'form-control' %><br>
        <%= form.submit "Email reset instructions", class: 'btn btn-primary' %>
      <% end %>
      <%= link_to "Log in instead", new_session_path, class: 'mt-4 d-inline-block' %>
    </div>
  </section>
</div>
Now, before we can actually test any of this we need to create a sign up flow. As I mentioned before, the authentication generator doesn't add it, so we should make it ourselves.
Registration Flow
⏱️ Elapsed time: 45:29 — Time remaining: 74:31
We will add some validations to our user model, to ensure that we get unique user accounts.
# app/models/user.rb

validates :password, presence: true
validates :email_address, presence: true, uniqueness: true
For the registration flow, we could use the following command:
rails generate controller Registrations new create
However, this creates some things are not quite right in my opinion. I am not the only one who thinks that and there are community implementations for basic registration. Therefore, we will use the following:
rails app:template LOCATION='https://railsbytes.com/script/Xg8sMD'
Then let's add a link to the login page (/sessions/new):
<div class='d-flex justify-content-between mt-3'>
  <%= link_to "Forgot password?", new_password_path, class: 'd-inline-block' %>
  <%= link_to "New here?", new_registration_path, class: 'd-inline-block' %>
</div>
Then, let's change the error response for the new create method in app/controllers/registrations_controller.rb:
# Replace this
render :new
# with
redirect_to new_registration_path, alert: "Registration failed, please try again"
And let's make the registration form look good. Paste the following in app/views/registrations/new.html.erb:
<div class='container-sm'>
  <section class='card max-width-card mx-auto'>
    <h1 class='card-header'>Sign Up</h1>
    <div class='card-body'>
      <%= form_with(model: @user, url: registration_path, local: true) do |form| %>
        <div>
          <%= form.label :email_address, class: 'form-label' %>
          <%= form.email_field :email_address, required: true, autofocus: true, autocomplete: "username", placeholder: "Enter your email address", value: params[:email_address], class: 'form-control' %><br>
        </div>
        <div>
          <%= form.label :password, class: 'form-label' %>
          <%= form.password_field :password, required: true, autocomplete: "current-password", placeholder: "Enter your password", maxlength: 72, class: 'form-control' %><br>
        </div>
        <div>
          <%= form.label :password_confirmation, class: 'form-label' %>
          <%= form.password_field :password_confirmation, required: true, autocomplete: "current-password", placeholder: "Confirm password", maxlength: 72, class: 'form-control' %><br>
        </div>
        <%= form.submit "Register", class: 'btn btn-primary' %>
      <% end %>
      <div class='d-flex justify-content-between mt-3'>
        <%= link_to "Log in instead?", new_session_path, class: 'd-inline-block' %>
      </div>
    </div>
  </section>
</div>
Some final touches for the login. We should ensure that we show the alerts. Let's add a notice and alert in our application:
<% if notice %>
  <p class='alert alert-success'><%= notice %></p>
<% end %>
<% if alert %>
  <p class='alert alert-danger'><%= alert %></p>
<% end %>
I added this above the Navbar partial, but you can put it wherever you like. That should be all we need for the authentication. Let's test it!
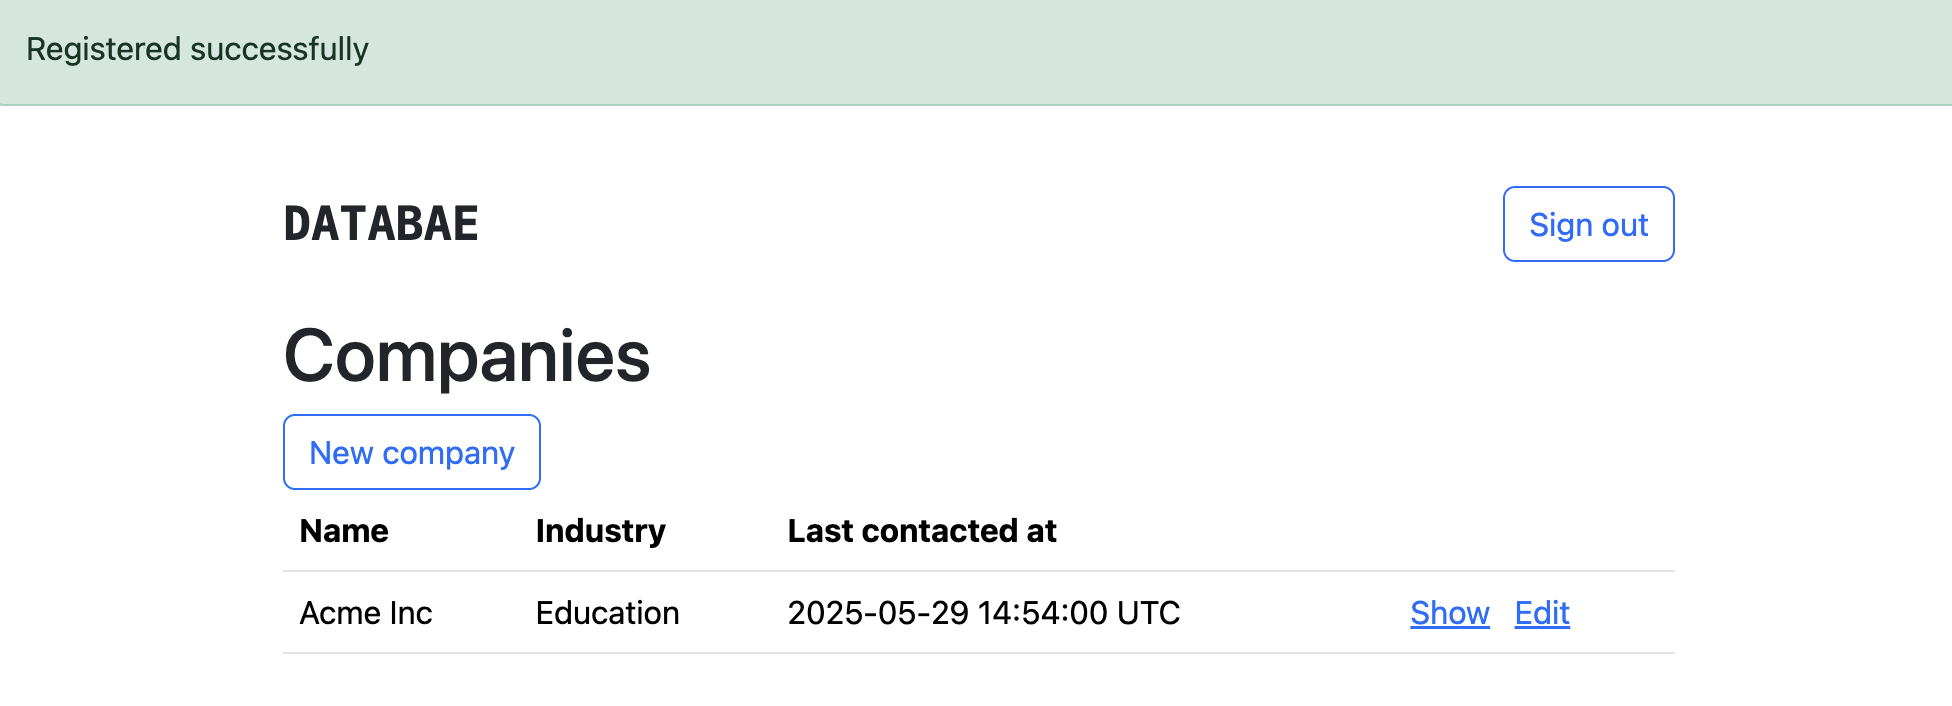
That's looking good! However, we just logged in and we see all the companies that we already created before. We need to ensure that companies are linked to each user, so every user can have their own list of companies.
Password reset
⏱️ Elapsed time: 47:52 — Time remaining: 72:08
If we now click on Forgot password? we can go to the form where we request a reset link for our password. Once we fill in our email and click Email reset instructions, letter_opener will open the email that gets sent with the reset link. Clicking that leads us to the /passwords/edit page, but in the address bar it looks weird. The weird gibberish you see there is actually the reset token. This token has a limited validity and can only be used once. Let's update the page real quick to be in line with the other pages:
<div class='container-sm'>
  <section class='card max-width-card mx-auto'>
    <h1 class='card-header'>Update your password</h1>
    <div class='card-body'>
      <%= form_with url: password_path(params[:token]), method: :put do |form| %>
        <%= form.label :password, class: 'form-label' %>
        <%= form.password_field :password, required: true, autocomplete: "new-password", placeholder: "Enter new password", maxlength: 72, class: 'form-control' %><br>
        <%= form.label :password_confirmation, class: 'form-label' %>
        <%= form.password_field :password_confirmation, required: true, autocomplete: "new-password", placeholder: "Repeat new password", maxlength: 72, class: 'form-control' %><br>
        <%= form.submit "Save", class: 'btn btn-primary' %>
      <% end %>
      <%= link_to "Log in instead?", new_session_path, class: 'mt-4 d-inline-block' %>
    </div>
  </section>
</div>
User specific companies
⏱️ Elapsed time: 49:52 — Time remaining: 70:08
Adding the relationship
In order to make DataBae work as intended, we need to make sure that each user has their own companies and companies from one user are not accessible by any other user. To make this happen, we need to add a relation between the companies and the users. We should run the following command to create the database migration:
rails generate migration AddUserToCompanies user:references
This will generate a migration in which a user_id column gets added to the companies table. Then add the relation on the models:
# app/models/user.rb
class User < ApplicationRecord
  # ...
  has_many :companies, dependent: :destroy
  # ...
end

# app/models/company.rb
class Company < ApplicationRecord
  # ...
  belongs_to :user
  # ...
end
Again, do not forget to run the migration with rails db:migrate. If you followed along, you will now get an error:
PG::NotNullViolation: ERROR: column "user_id" of relation "companies" contains null values
This error occurs because we have companies in the database without a value for User ID—the test company we created. Since we are working on develop and we have little information in the database, we could just remove all companies by opening the Rails console (rails console) and running Company.destroy_all. Another way would be to allow companies without a User ID to exist by changing the migration file we just made. For this, you should remove null: false from the migration file we just created, ending with add_user_to_companies.rb. Of course, on an app in production, you would probably do a three-part migration:
- Add the relation without
null: false, meaning companies can exist without a user. - Run a script that assigns the companies to the correct user.
- Write a migration that adds the
null: falseto the database.
For now, I will just remove the one test company from the database and run the migration.
Creating new companies for the current_user
The next step is to automatically assign the current user when creating a new company. If we now try to create a company, we get the following error: Failed to create company. User must exist.. We only create new companies in app/controllers/companies_controller.rb#create. The only thing we have to do is change one line:
def create
  @company = Company.new(company_params.merge(user: current_user))
  # ...
end
That's it. We can now create a new company. However, when we log out and sign up as a new user, we still see the same company on our index page. That is—of course—not what we said would happen. This is because we are not filtering for companies of the current user.
Showing only the current_user's companies
Let's look at the index method of our companies_controller.rb:
  def index
    @companies = Company.all
  end
We could update this in place, but since we will always need to look for companies for the current user, I think it makes more sense to add a concern that contains all the logic we would need and automatically checks if a user can see and edit a singular company, for example. We will create the following concern app/controllers/concerns/companies_userable.rb.
module CompaniesUserable
  extend ActiveSupport::Concern

  private

  def user_companies
    Current.user&.companies
  end

  def find_company!(id)
    company = user_companies&.find(id)
    company
  rescue ActiveRecord::RecordNotFound
    redirect_to companies_path, alert: "Company not found"
    nil
  end
end
It's a simple concern that gets all the current user companies and finds a company by ID, but only in the companies that are connected to the user. We will include it at the top of the companies_controller.rb. Note that there are different options where to include this. You could include it where the authentication.rb concern gets include—at the application_controller level, but I feel it's better to include it explicitly where you use it. Now all that's left, is to update the companies_controller.rb methods to make use of our new concern.
class CompaniesController < ApplicationController
  include CompaniesUserable
  # ...
  def index
    @companies = user_companies
  end
  # ...
  private

  def set_company
    @company = find_company!(params.expect(:id))
  end
  # ...
end
Now all the companies we see and can edit are only the companies that belong to the logged in user! Nice.
Creating a simple dashboard
⏱️ Elapsed time: 55:54 — Time remaining: 64:06
Now let's make a simple dashboard with some stats for the companies in our CRM. I created a few extra companies for my last user, so we have some data to work with:
15.times do |num|
  Company.create(
    name: "Company #{num + 1}",
    industry: Industry.order('random()').last,
    user: User.last
  )
end
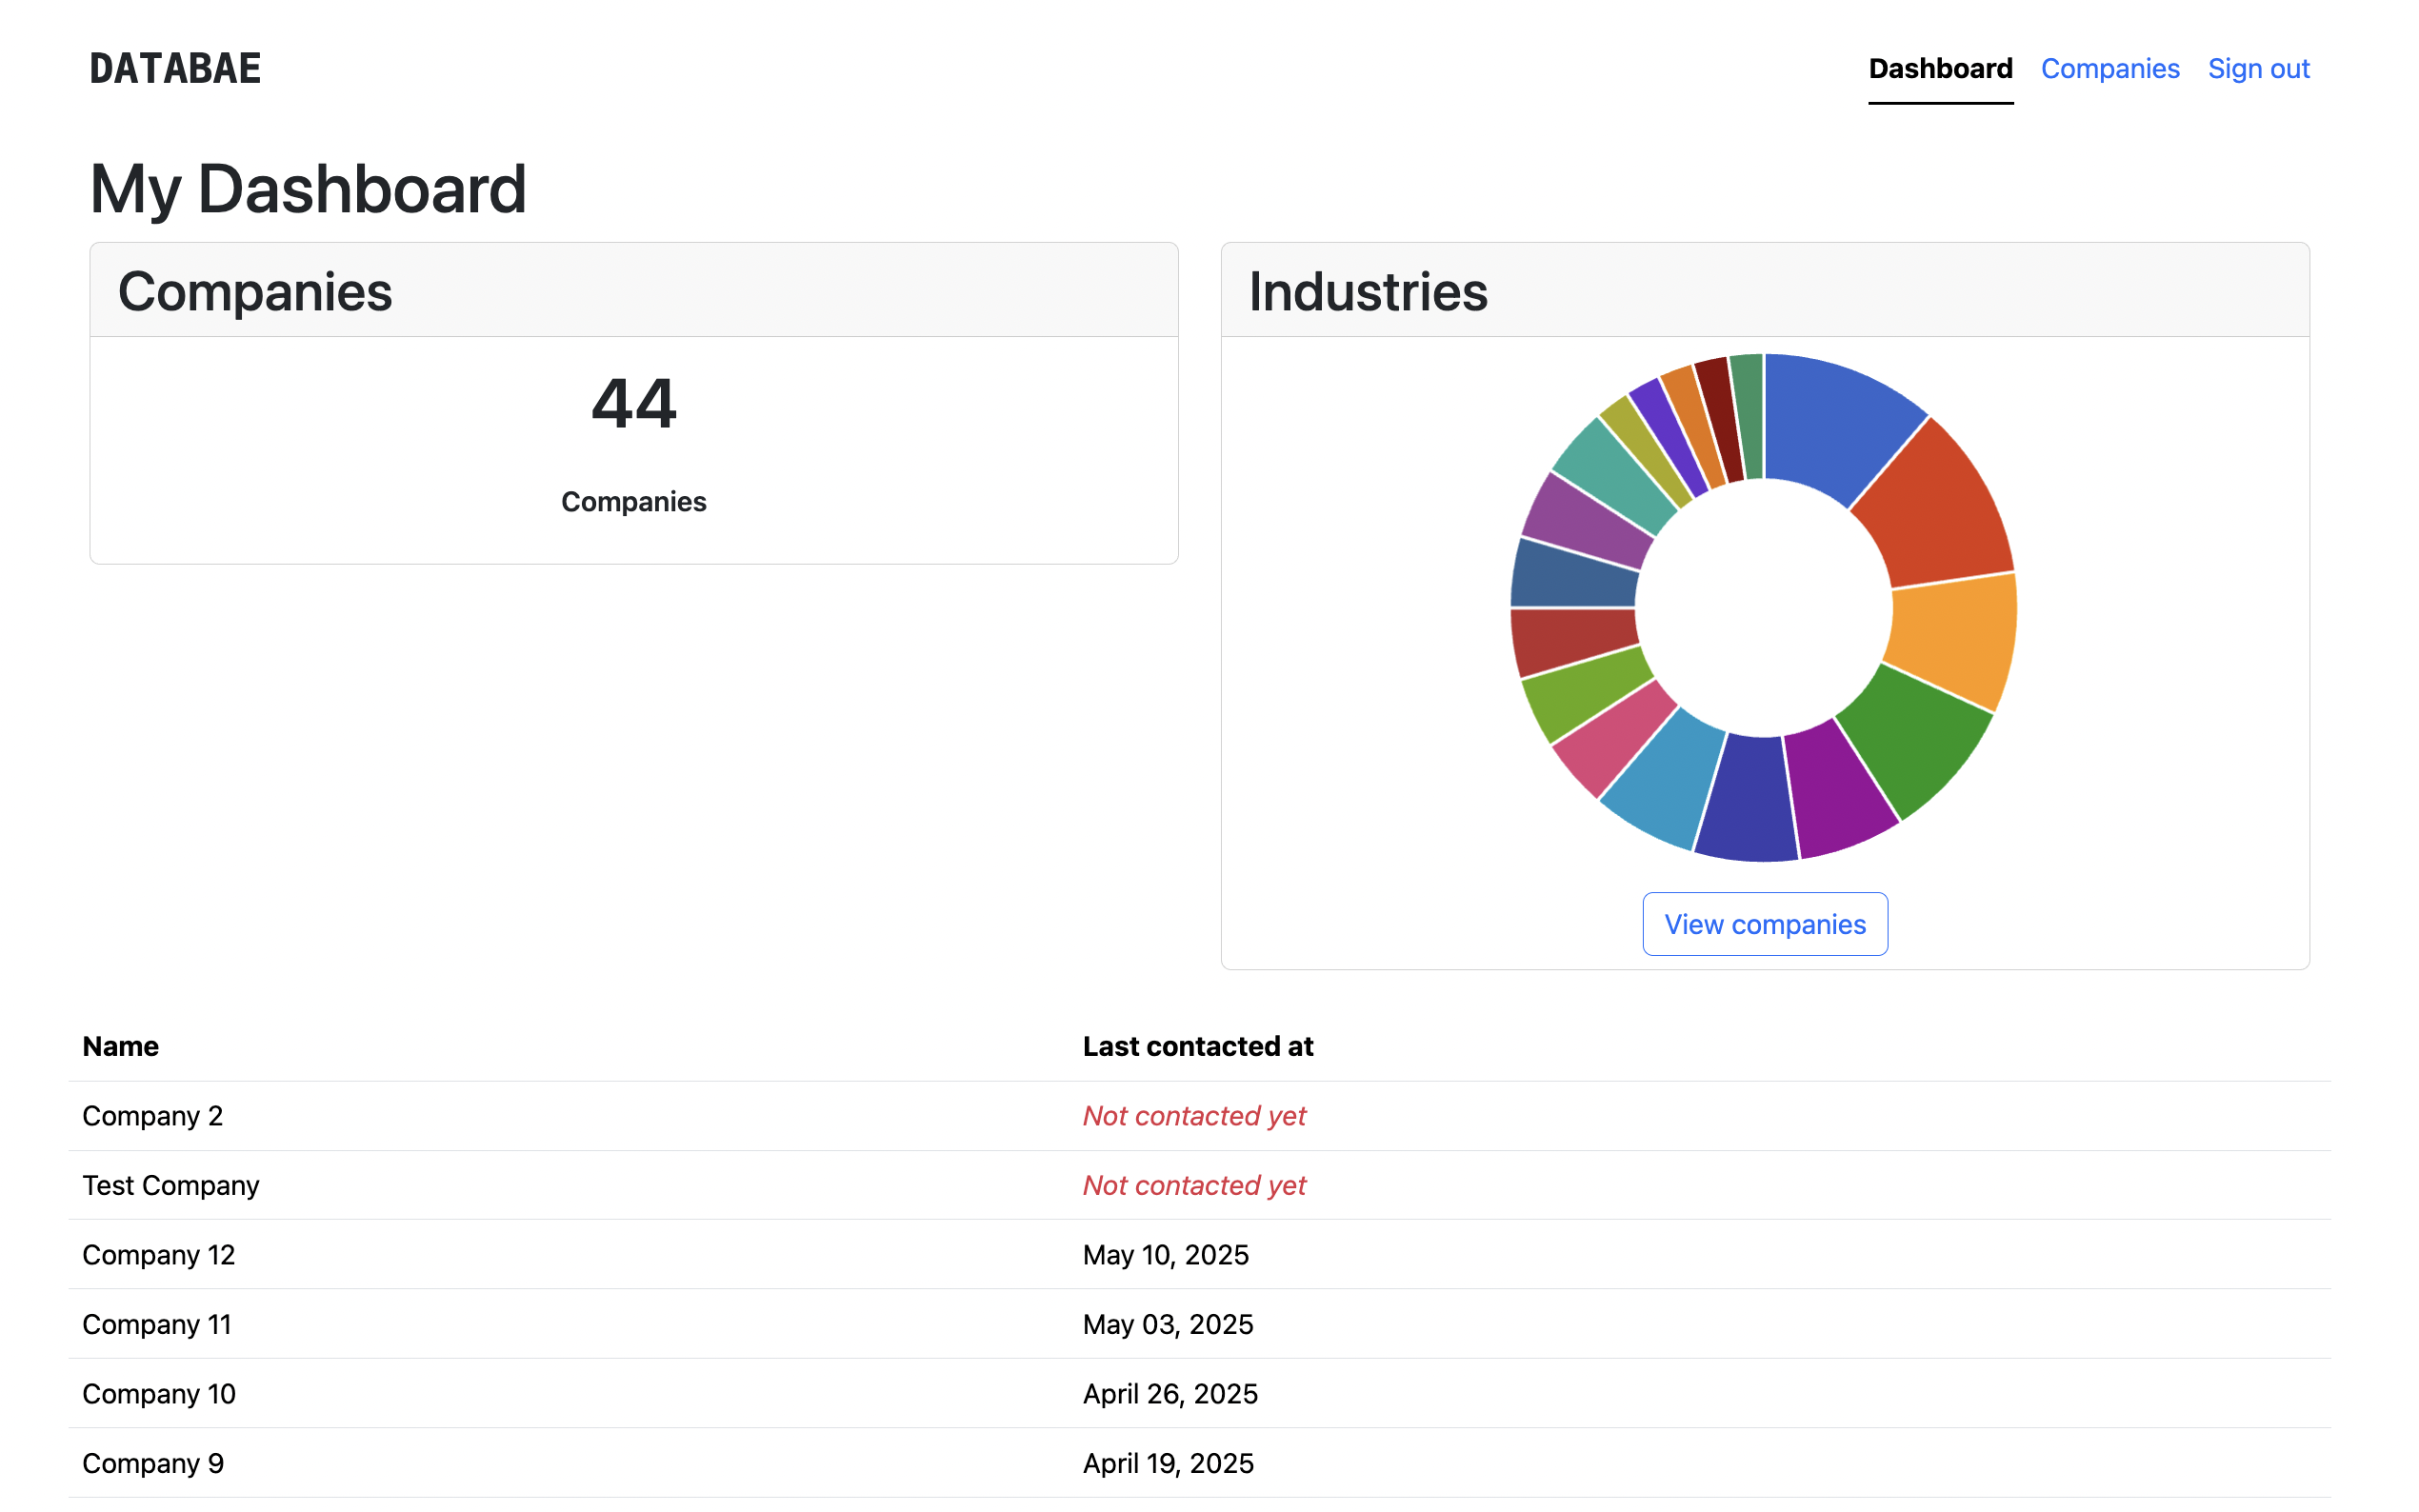
What I think would be nice to see on a dashboard is the total number of companies, maybe a graph with the distribution of the industries, and a list of companies that we haven't contacted in the last two weeks. Let's make a dashboard:
rails generate controller Dashboard index
We only need an index page, because all the detailed information would be on the company page. This is only an overview. Let's fix the routes it generated;
# remove
get "dashboard/index"
# replace with
get "dashboard", to: "dashboard#index", as: :dashboard
Also, let's update the root path to go the dashboard rather than the companies index:
root "dashboard#index"
Next, we should update the navbar, to allow us to get to all the pages—only if logged in of course:
<% if current_user.present? %>
  <ul class='nav nav-underline'>
    <li class='nav-item'>
      <%= link_to "Dashboard", dashboard_path, class: "nav-link #{['/', '/dashboard'].include?(request.path) ? 'active' : ''}" %>
    </li>
    <li class='nav-item'>
      <%= link_to "Companies", companies_path, class: "nav-link #{request.path.include?('/companies') ? 'active' : ''}" %>
    </li>
    <li class='nav-item'>
      <%= button_to "Sign out", session_path, method: :delete, class: "nav-link" %>
    </li>
  </ul>
<% else %>
  <%= link_to "Sign in", new_session_path, class: "btn btn-outline-primary" %>
<% end %>
Company count
To make the counter for the company, all we have to do is add add the companies_userable.rb concern to the companies dashboard controller. Remember that we didn't add it to the application controller to be more explicit where we actually access the user's companies. Let's include it:
class DashboardController < ApplicationController
  include CompaniesUserable
  # ...
end
Then we can add the count to the dashboard, nicely styled using Bootstrap—of course.
<h1>My Dashboard</h1>
<div class='row'>
  <div class="col-sm-6 mb-3 mb-sm-0">
    <div class='card'>
      <h2 class='card-header'>Companies</h2>
      <div class='card-body d-flex flex-column align-items-center p-2'>
        <p class='fs-1 fw-semibold'><%= user_companies.count %></p>
        <p class='fw-semibold'>Companies</p>
      </div>
    </div>
  </div>
</div>
Adding a pie chart
It takes a bit more effort to add the a chart to the dashboard. Literally just a bit. There's only two things we need to do;
- Sort and count the companies in a way we want to show
- render a nice pie chart
Gathering the data
In the index method we will sort through the data. We are going to show how many companies of each industry we have. We will show them from most to least in a clockwise fashion. We can use do a lot of database commands without ever having to write any SQL;
# app/controllers/dashboard_controller.rb
class DashboardController < ApplicationController
  # ...
  def index
    @chart_data = user_companies.includes(:industry)
                                .joins(:industry)
                                .group('industries.name')
                                .count
                                .sort_by(&:last)
                                .reverse
                                .to_h
  end
end
This command takes all the user's companies—from our concern—and joins the industry table. It pre-loads the association (:includes) to prevent N + 1 queries. Then it groups the companies by the industry name (.group('industies.name')) and counts how many occurrences there are. This will return a hash like this:
{
  'Mass-media': 2,
  'Technology': 5,
  # ... etc
}
The nice thing about this is that it will not include industries that do not appear, because it only looks at the companies the user actually has. The last few method calls are to sort the results by the number of occurrences and the reverse call ensures we get the most used industry first.
Rendering the chart
To render a chart, we will add the gem chartkick. We could try to make a chart from scratch, but that will definitely take us over the two hour limit. This gem needs a bunch of JavaScript, so we have to make sure this is included properly. Let's first add the gem by running the following command in the terminal:
bundle add chartkick
Then we need to pin it for importmap—importmap helps us load the JavaScript. Open config/importmap.rb and add the following lines:
# ...
pin "chartkick", to: "chartkick.js"
pin "Chart.bundle", to: "Chart.bundle.js"
Almost done. Let's make sure these are also imported in app/javascript/application.js:
// ...
import "chartkick"
import "Chart.bundle"
Then we can add the chart to the index page and make sure to include the link to the chart.js code:
<div class='row'>
<%# ... %>
  <div class="col-sm-6 mb-3 mb-sm-0">
    <div class='card'>
      <h2 class='card-header'>Industries</h2>
      <div class='card-body d-flex flex-column align-items-center p-2'>
        <%= pie_chart @chart_data, donut: true, legend: false %>
        <%= button_to "View companies", companies_path, method: :get, class: "btn btn-outline-primary mt-3" %>
      </div>
    </div>
  </div>
</div>
<%= javascript_include_tag "https://cdn.jsdelivr.net/npm/chart.js" %>
Listing companies in need of contacting
We should first define what companies are in need of contacting. I decided on this:
@companies_to_contact = user_companies.where("last_contacted_at < ?", 1.weeks.ago)
                                      .or(user_companies.where(last_contacted_at: nil))
The only thing left then is to generate a nice table to show them:
<div class='row mt-4'>
  <table id="companies" class='table table-hover'>
    <thead>
      <th>Name</th>
      <th>Last contacted at</th>
    </thead>
    <tbody>
      <% @companies_to_contact.each do |company| %>
        <tr data-controller="clickable-row"
          data-clickable-row-url-value="<%= company_path(company) %>"
          data-action="click->clickable-row#click"
          role='button'
          tabindex='0'>
          <td><%= company.name %></td>
          <td>
            <% if company.last_contacted_at.present? %>
              <span><%= company.last_contacted_at.strftime("%B %d, %Y") %></span>
            <% else %>
              <span class='text-danger fst-italic'>Not contacted yet</span>
            <% end %>
          </td>
        </tr>
      <% end %>
    </tbody>
  </table>
</div>
If you look closely, you see something special on the table rows: data-controller="clickable-row". I want the entire row to be clickable to go to the company page, but this is not default possible without some JavaScript. Therefore, we will make a simple stimulus controller. Stimulus is a lightweight JavaScript framework. The creators call it "A modest JavaScript framework for the HTML you already have." 1. And it is really easy. Let's make the following file app/javascript/controllers/clickable_row_controller.js and put the following code in there:
import { Controller } from '@hotwired/stimulus';

export default class extends Controller {
  static values = { url: String };

  click() {
    if (this.urlValue) {
      window.location.href = this.urlValue;
    }
  }
}
This simple piece of JavaScript will get activated for each time data-controller='clickable-row' appears on the page and hook into it. It will extract the value from data-clickable-row-url-value and add a click event that points to the click function of the controller (click->clickable-row#click).
End of part two
⏱️ Elapsed time: 73:05 — Time remaining: 46:55
We are really getting somewhere now. There's just a few things to add and our MVP is done. Here's what we did today:
- Added user authentication; registration, login, and even password reset
- Linked companies to users, so users only see their own companies
- Added a dashboard where we can see the companies we need to contact
- Added pie chart to have a nice overview of our company industry distribution
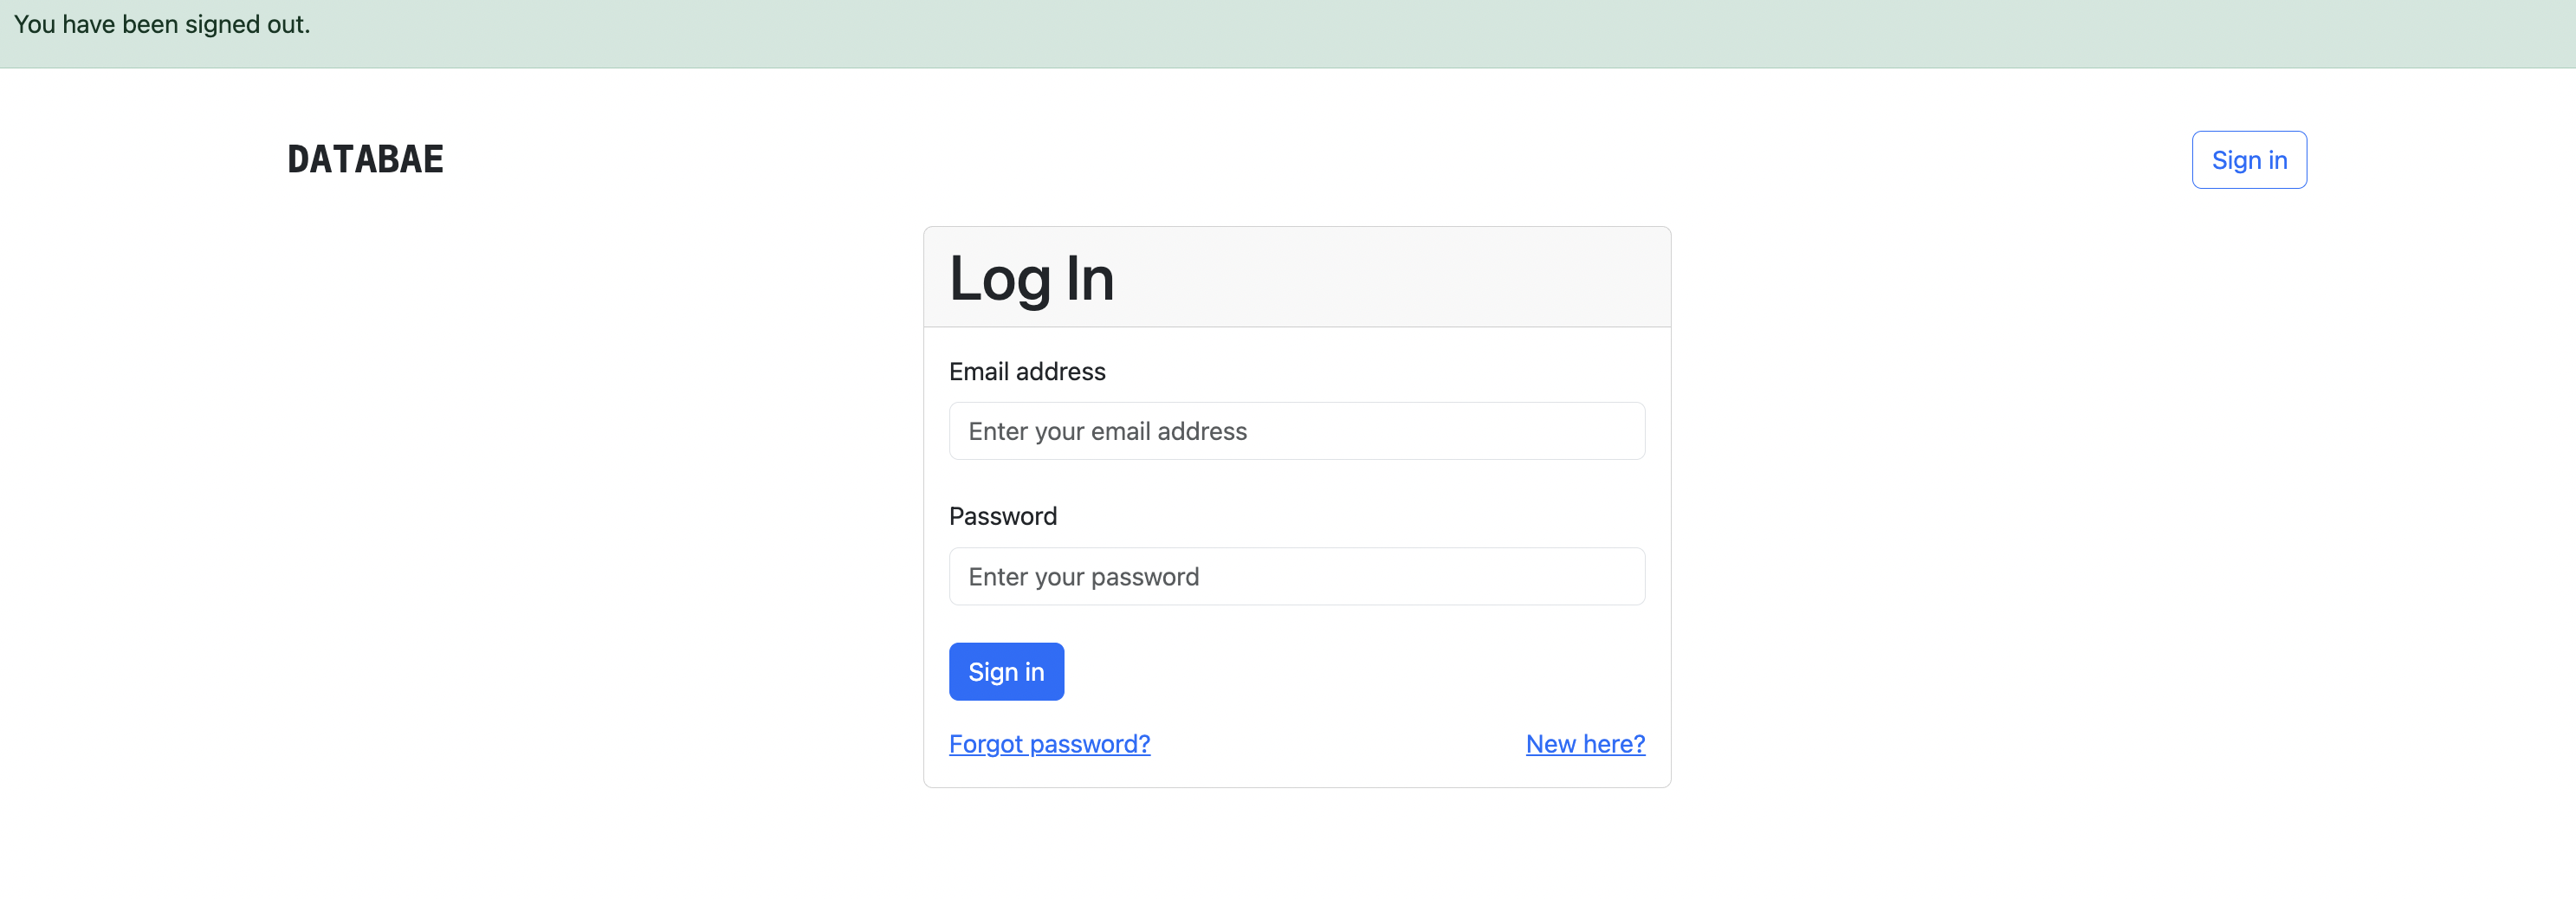
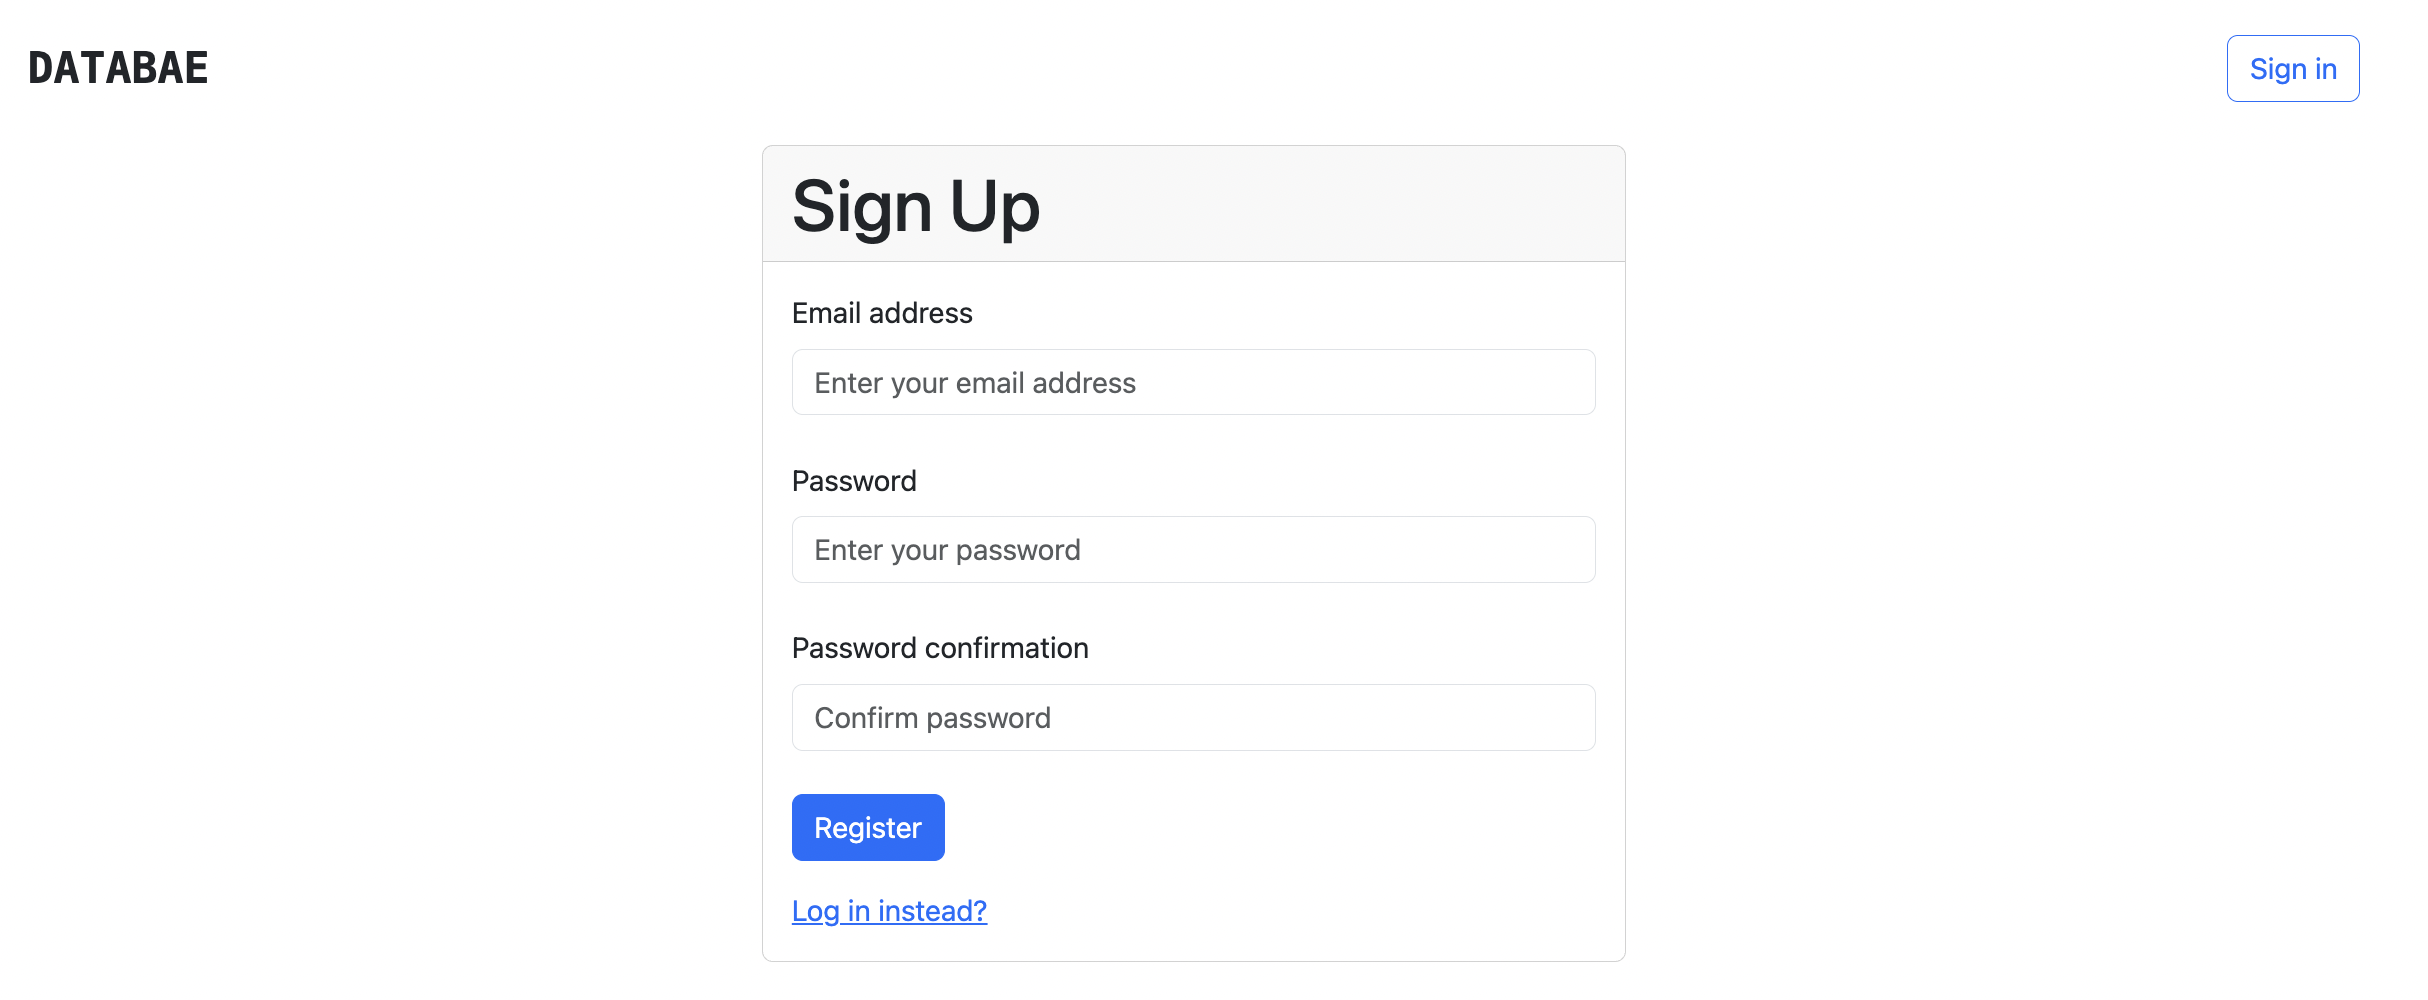
Let's finish with some nice screenshots of the current application:
In Part 3, we will focus on the last important things. Filtering—you cannot find a company quickly at the moment—and pagination—if there are many companies they just get added to the list.
If you're looking to rapidly validate your next business concept with a functional prototype, let's talk. Rapid prototyping might be exactly what your next project needs to gain traction and stakeholder buy-in.
Footnotes
-
Stimulus: A modest JavaScript framework for the HTML you already have. https://stimulus.hotwired.dev/ ↩